
Last updated November 18, 2026
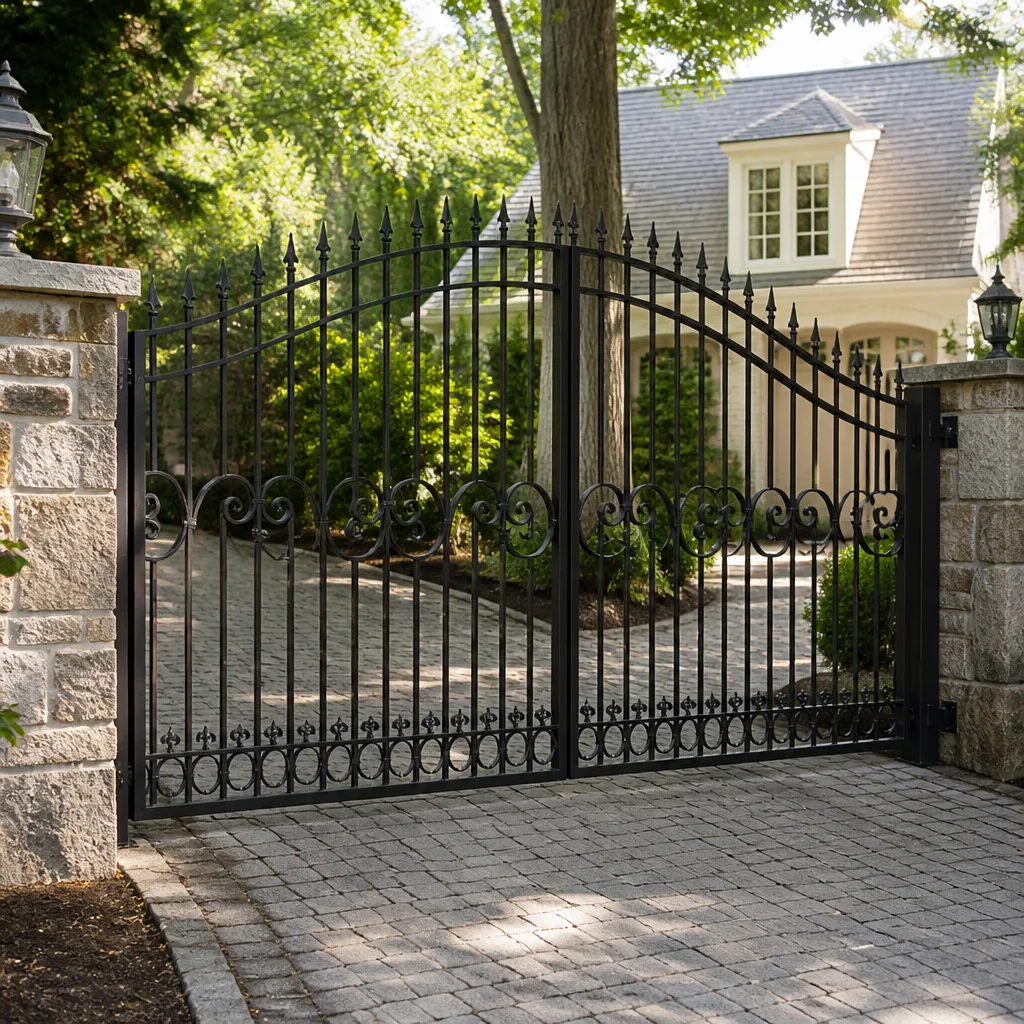 Wrought iron
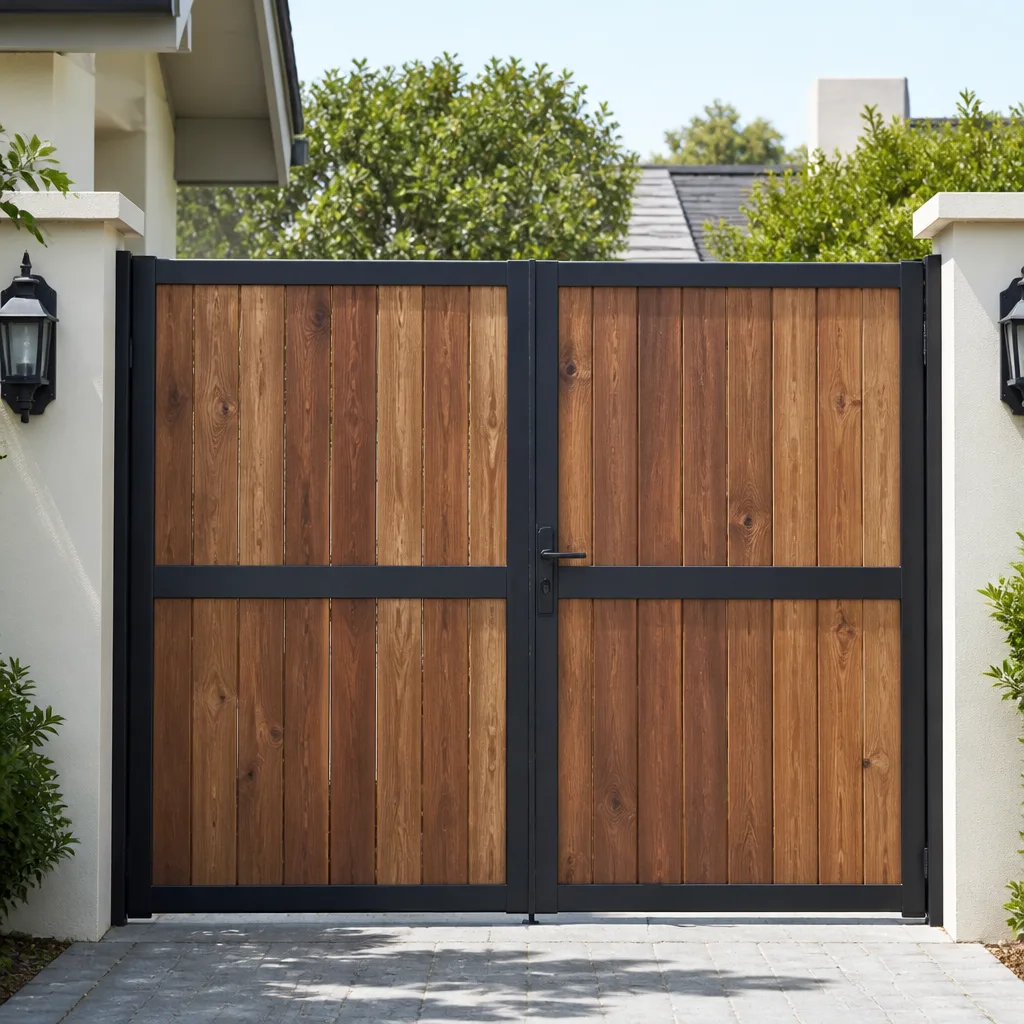 Wood & steel frame
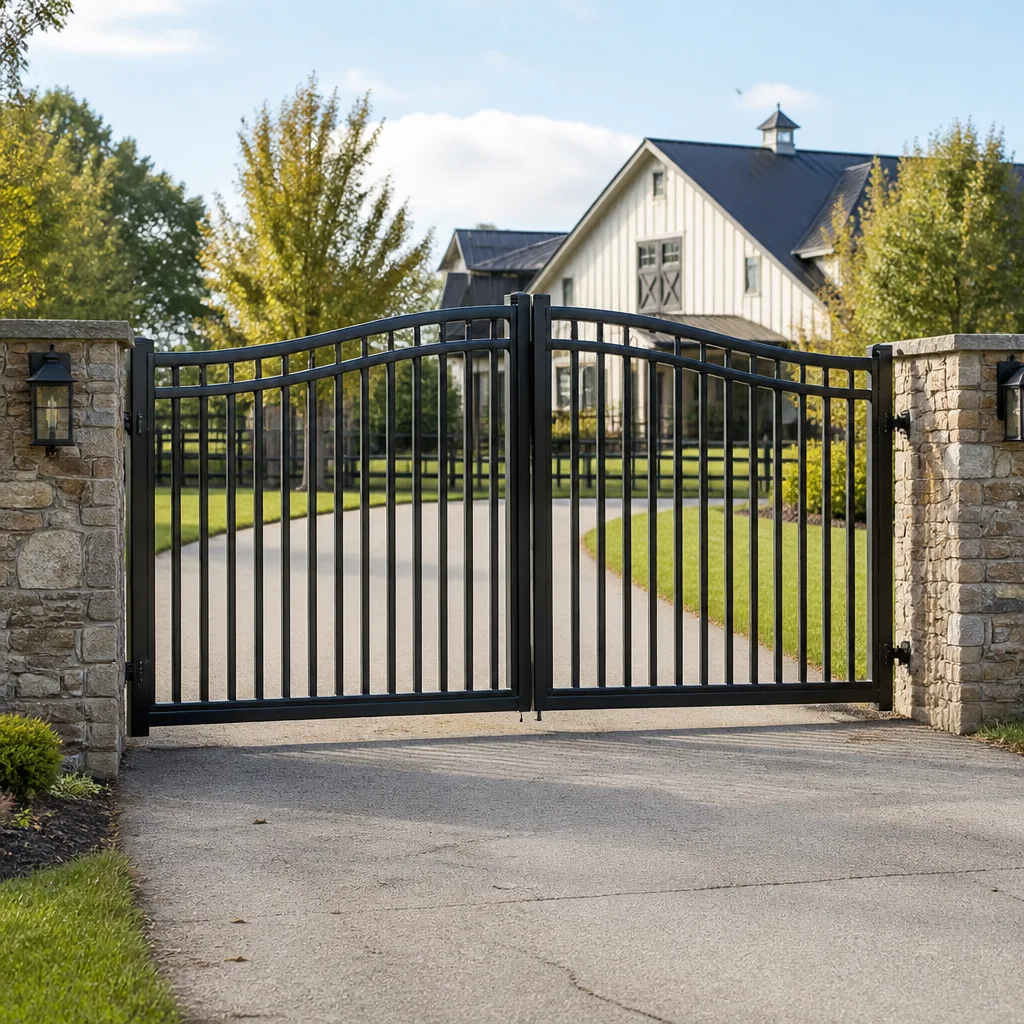 Farm & ranch
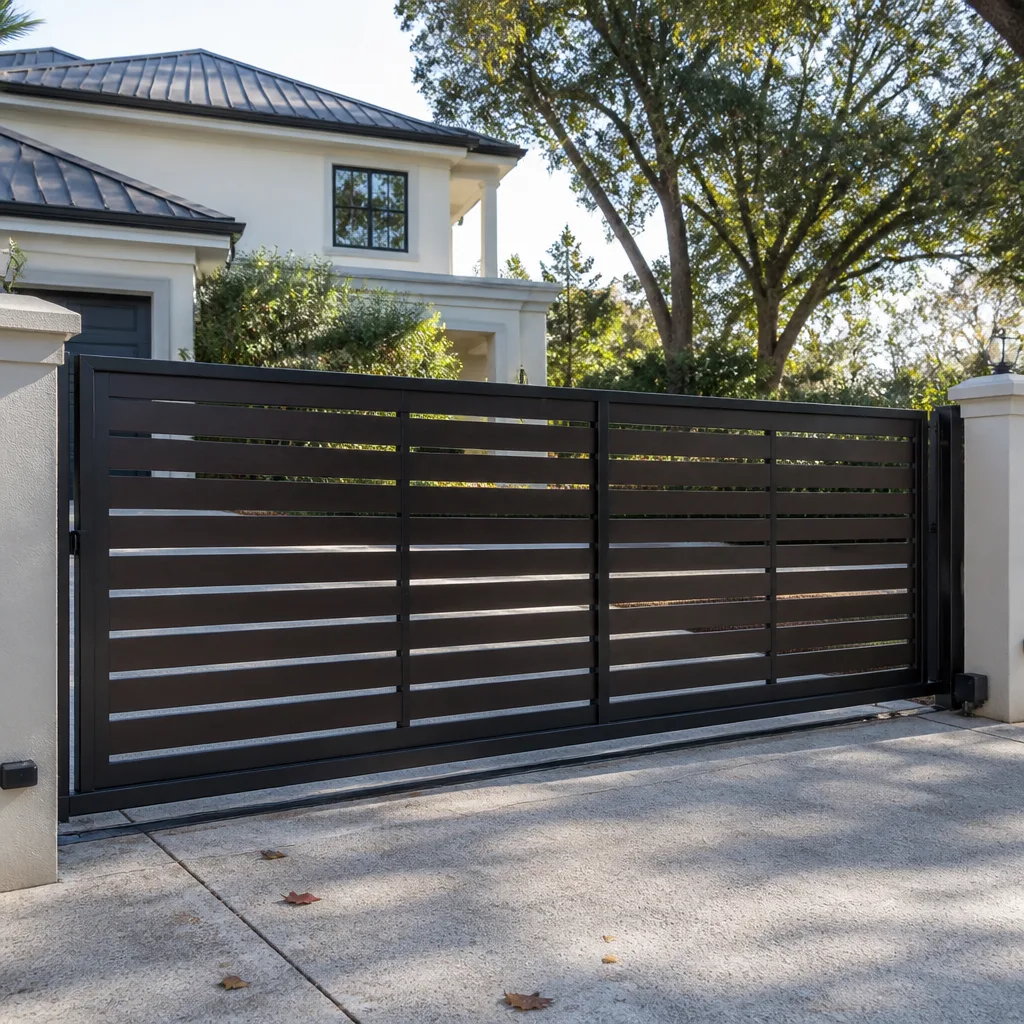 Sliding driveway gates
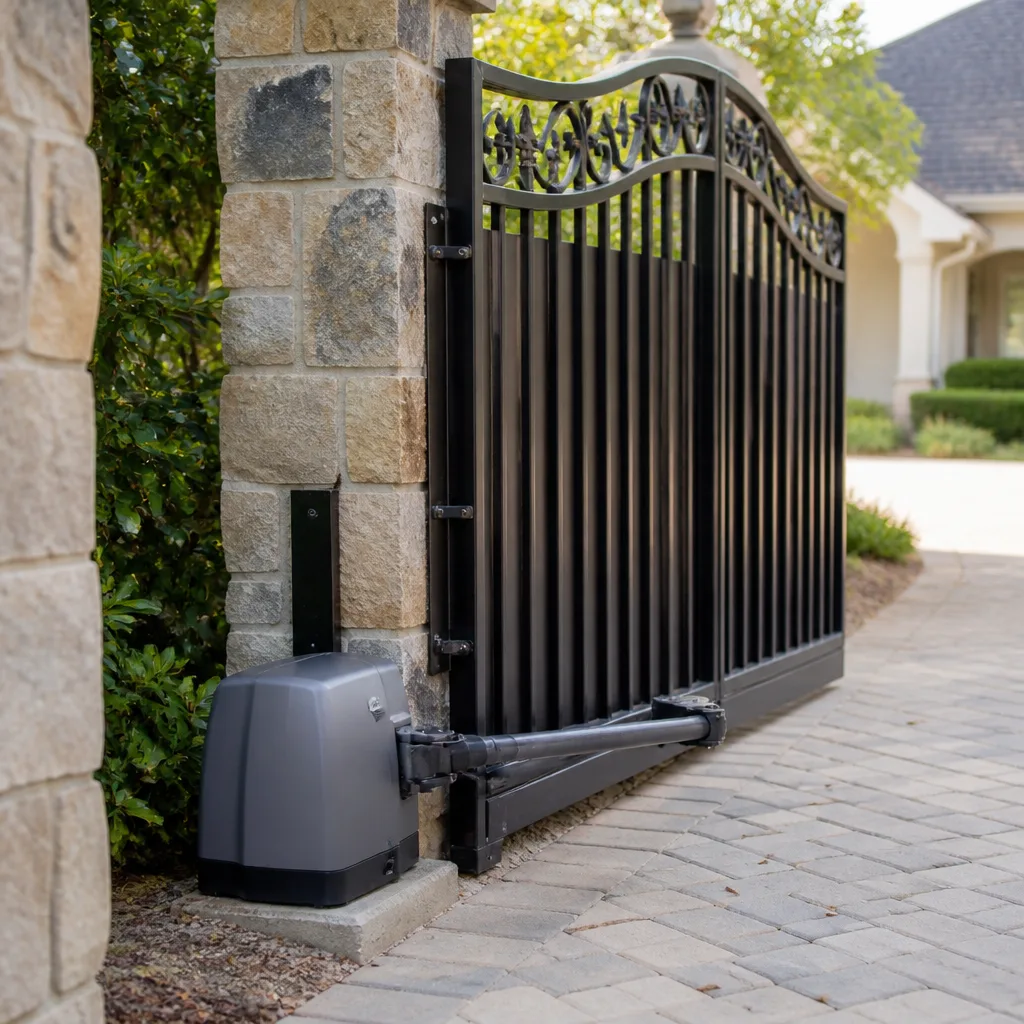 LiftMaster operators
Free on-site gate assessment - hinges, posts, and your LiftMaster or Nice gate operator checked before anything is quoted
The assessment is free and the quote is the invoice.
Get your free estimateGate Installation Warning Signs Every Homeowner Should Know
We’ve crawled under more gates than we can count, and the same three shortcuts show up every single time: undersized posts, skipped welds, and operators mounted with lag screws into wood blocking instead of welded steel plate. None of them announce themselves on day one. They wait. Six months later you’ve got a sagging panel, a stripped gear in your opener, or a gap at the bottom a coyote could stroll through. This guide gives you the inspection checklist to catch that sloppy work while the warranty window is still open. We’re writing it from Sunrise Manor, where caliche soil and monsoon wind test an install faster than almost anywhere else in the valley.
Quick Answer
The biggest gate installation warning signs are undersized or shallow posts, cold or skipped welds, operators lag-screwed into wood instead of welded to steel plate, a frame hung out of plumb, and paperwork that’s missing a permit, a written warranty, or a real business address. Any one of these means the installer cut a corner, and in Sunrise Manor’s soil and wind those corners fail within a year or two. Catch them at the walkthrough, not after the first windstorm.
Styles & brands we work with
- Wrought iron
- Wood & steel frame
- Farm & ranch
- Sliding driveway gates
- LiftMaster operators
Table of Contents
- Warning Sign 1: Posts That Are Too Shallow for the Soil
- Warning Sign 2: Welds You Can Read at a Glance
- Warning Sign 3: An Operator Bolted to Wood
- Warning Sign 4: Gaps and Plumb That Were Wrong on Day One
- Warning Sign 5: The Paperwork That Isn’t There
- The Day-One Walkthrough: A 10-Point Inspection
- Why Sunrise Manor Wears a Gate Out Faster
- Common Mistakes to Avoid
- When to Call a Professional
- Frequently Asked Questions
Warning Sign 1: Posts That Are Too Shallow for the Soil
Here’s the number that matters most and the one nobody shows you: post depth and footer diameter. In Sunrise Manor we’re setting into caliche, that dense calcium-carbonate layer that rings like a dinner plate when your spade hits it. Code minimum in most of the valley calls for a post buried roughly a third of its above-ground height in a concrete footer, but code minimum is the floor, not the benchmark. On caliche, a shallow hole with a skinny footer is a post that will lean the first time the ground swells after a hard rain.
What actually holds here is a footer wide enough at the base to resist lateral load, poured into a hole that’s been cleaned of loose caliche rubble, with the post set on gravel or a preformed base so it isn’t sitting in wet concrete. If you watch the install and see a hole barely wider than the post, or a post dropped straight onto dirt with concrete shoveled around it, that’s your first red flag.
Walk out and check these on any new install:
- Can you see the footer? A footer should sit a couple of inches proud of grade so water runs away from the post, not toward it.
- Is the concrete domed or sloped, or is it a flat pancake that puddles? Puddles at the base mean rot and rust within a couple of seasons.
- Did the installer hit caliche and stop, or break through it? A post wobbling in a shallow caliche pocket will fail first.
- Are gate posts and fence posts the same size? Gate posts carry swing load and need to be heavier. If they’re identical, the installer sized them for the fence, not the gate.
We see this on almost every repair call in Sunrise Manor where the gate is under five years old. The panel is fine. The hinge post is swimming. A gate sags in the hinge post, not in the middle, and that is where we always start. If you’re already seeing a lean, our Gate Repair in Sunrise Manor page walks through how we reset a failing post without replacing the whole gate.
Warning Sign 2: Welds You Can Read at a Glance
You don’t need a welding background to spot a bad weld. You need to know what a good one looks like next to a bad one, and the difference is visible from a few feet away. A sound weld has a consistent bead, stacked like overlapping coins, with the metal flowed into both pieces. A cold weld sits on top like a bead of caulk that never bit in. A skip weld is exactly what it sounds like: the installer tacked a few spots and skipped the rest to save time.
Here’s the checklist we use when a homeowner asks us to look at someone else’s work:
- Look for the coin stack. A good bead is even and continuous. Lumps, gaps, and a bead that looks like popcorn mean the heat or travel speed was wrong.
- Check every joint, not just one. Installers who skip welds usually skip the ones you can’t see without crouching at the hinge side or the bottom rail.
- Run your eye along the seam for grinder marks. A grinder can hide a crack by smoothing it over. If a joint is ground smooth but you can still see a hairline shadow, that’s a crack dressed up to look finished.
- Look for rust bleeding from a joint. A weld that cracked lets water in. Rust streaks at a joint within a year mean the weld failed and nobody told you.
- Grab the gate and shake it. A properly welded frame moves as one piece. A frame with a skip weld rattles and flexes at the joint.
On-site welding is the reason we can fix these without hauling your gate off. When we find a cold weld or a grinder-masked crack at the hinge side, we grind it out and lay a proper bead in your driveway, then finish it. If the installer didn’t weld at all and used brackets and self-tappers on a gate that should have been welded, that’s a different conversation, but it’s still one we have in Sunrise Manor most weeks.
Warning Sign 3: An Operator Bolted to Wood
This is the shortcut that costs the most money down the road, and it’s the easiest one to see. Walk up to a new automatic gate and look at how the opener or motor is attached. If it’s lag-screwed into a wood block, a fence picket, or a piece of cedar bolted to the post, that’s a problem waiting on the first monsoon. The operator wants to weld itself to steel plate that’s welded to the gate frame. Lag screws into wood loosen as the wood dries, shrinks, and swells. By the second season the operator is torqued out of alignment and the gear inside it starts to wear.
Why it matters, in plain terms:
- Wood moves. In Sunrise Manor’s dry heat, a wood block shrinks within a season. Lag screws lose their bite and the operator shifts a fraction of an inch, which is enough to strip a gear.
- Steel plate doesn’t move. A welded steel mounting plate holds alignment for the life of the gate. The operator runs true, the gears wear evenly, and the arm swings in the same arc every time.
- Alignment is everything. An operator mounted a hair off makes the gate work harder on every cycle. Harder cycles mean shorter life on the opener, whatever brand is on the box.
We service LiftMaster, FAAC, BFT, Linear, Viking, Ghost Controls, DoorKing, Elite, and Mighty Mule, and the mounting failure looks the same on all of them. A Ghost Controls box on a lag-screwed block wears out exactly like a DoorKing does. The brand doesn’t save you if the mounting is wrong. If your new install already feels like the gate is fighting the opener, our Gate Motor & Opener in Sunrise Manor page covers how we remount and realign the arm.
Warning Sign 4: Gaps and Plumb That Were Wrong on Day One
A new gate should look like it was hung by someone who owned a level. On day one, the acceptable gap at the bottom is small, roughly two inches or less, and generous enough that the gate clears the ground when the hinge settles a little over the first year. The panel should sit plumb, meaning a level against the stile shows true in both directions. The gate should swing open and closed under light hand pressure, without a scrape or a lift at the latch side.
What signals the frame was hung wrong:
- A bottom gap that’s tight on one side and wide on the other. That’s a frame out of square, and it will only get worse.
- A gate that closes on its own. Show us a gate closing on its own and we’ll show you where it’s failing. The hinge post or the frame is already out of plumb.
- The latch catches with a lift or a shove. A properly hung gate meets the latch post square with a light push.
- A visible diagonal shadow at a corner. That’s the frame twisting. It shows up before the sag does.
Sunrise Manor makes this worse because the ground moves more than most of the valley. A frame hung slightly out of plumb on a good post survives. A frame hung out of plumb on a shallow post is a gate that starts dragging by summer. If you’re planning a new install and want it done to a standard that survives the ground here, our Gate Installation in Sunrise Manor page covers what a proper install includes from the footer up.
Warning Sign 5: The Paperwork That Isn’t There
We’ve seen homeowners pay thousands for a gate and walk away with a receipt that has a first name and a phone number on it. No business address, no permit, no written warranty. That’s the paperwork tell, and it matters because it tells you who’s accountable when something fails in month eight.
Any legitimate installation in Sunrise Manor should leave you with these:
- A business name and a published address. Not a P.O. box, not a phone number alone. A real address you can drive to.
- A written warranty, in plain language. What’s covered, for how long, and what voids it. If it’s verbal, it doesn’t exist.
- Permit paperwork where your jurisdiction requires it. Gates and fence lines that exceed height or run near a property line or drainage easement often need a permit. If you asked and the answer was “don’t worry about it,” worry about it.
- An itemized invoice. Posts, footers, gate frame, hardware, operator, welding. Line by line. If the invoice is a lump sum on a napkin, you have no way to verify what you paid for.
- A callback number that reaches a person. Not a voicemail box, not an answering service three states away. A number where the person who did the work answers.
We put our 90-Day Done Right Promise in writing on every job, and it isn’t buried in fine print. One call brings us back. The name is on the shop, and the shop is down the road, which is the oldest accountability there is. If you want a second set of eyes on a quote someone handed you, we give a free second opinion on any written estimate. That’s not a sales pitch; it’s the same thing we’d want if the roles were reversed.
The Day-One Walkthrough: A 10-Point Inspection
When the installer says the job is done, don’t pay until you’ve walked it. This is the checklist we’d use on our own driveway, and it takes about twenty minutes. Bring a level, a tape measure, and a phone to take pictures.
- Check the post footers. Look for domed or sloped concrete a couple of inches proud of grade at every post, especially the gate posts.
- Shake the gate at the hinge side. It should move as one piece with the post, not wobble separately.
- Inspect every weld joint. Coin-stack bead, even and continuous, no popcorn, no crack shadows dressed over with a grinder.
- Look at the operator mount. Welded steel plate, not lag screws into wood. Check it now because it’s the easiest to verify on day one.
- Level the stile. Plumb in both directions, no twist.
- Measure the bottom gap. Two inches or less, and even side to side.
- Swing the gate by hand. Latch side should reach the catch with a light push, no lift.
- Cycle the operator. Watch it open and close three times. It should run smooth and stop at the limit points without a hard clunk.
- Test the safety reverse and photo-eye. Break the beam with a hand and the gate should reverse. If it doesn’t, don’t sign anything.
- Collect the paperwork. Written warranty, itemized invoice, business address, and a cell number that gets a live person.
If a checklist item fails, say so now, while the installer is still on site. A name that shows up in the window promised, and a promise in writing, is worth more than a lower bid. If you already have a new gate and something on this list didn’t hold up, our Gatewood Fence & Gate Sunrise Manor home page is the fastest way to reach us.
Why Sunrise Manor Wears a Gate Out Faster
The ground in Sunrise Manor is caliche, and it’s not the forgiving soil you’ll see on install videos from wetter parts of the country. Caliche drains fast, dries hard, and swells unevenly when it gets water. That means footers here need to be engineered for lateral load, not just dug to a depth that works on a lawn. A shallow footer on caliche holds just fine through a dry season and moves the first time monsoon rain runs across the lot.
Then the wind shows up. A monsoon downdraft doesn’t just push the panel; it works every joint and every mount. Undersized posts flex. Skipped welds rattle loose. Lag-screwed operators torque out of alignment. A gate that passes the walkthrough in April can hand you a problem by July, and the failure points line up exactly with the shortcuts in this guide.
We work on this ground every week, and we’ve pulled enough failed posts out of caliche in Sunrise Manor to know the difference between code minimum and a footer that actually holds. If you’re planning an install, ask about the footer before you ask about the price. The footer is where the whole gate lives.
Common Mistakes to Avoid
- Paying before the walkthrough. Hold final payment until every item on the checklist passes. Once the check clears, your leverage is a phone call and a warranty, and if there isn’t one, it’s nothing.
- Judging the gate by how it looks on day one. A gate can look perfect and have three hidden problems: a shallow post, a cold weld, and an operator bolted to wood. Those three cause almost every premature failure we see in Sunrise Manor.
- Assuming code minimum is the benchmark. Code is the floor. On caliche in Sunrise Manor, a footer engineered for the soil here holds up longer than one that just passes inspection.
- Letting lag screws into wood stand. If the operator mount is wood, ask for a welded steel plate before you pay. It’s a small fix now and an expensive one after the gear strips.
- Skipping the safety reverse test. Break the beam with your hand and confirm the gate reverses. If it doesn’t, the gate isn’t safe to operate, and that’s not negotiable.
- Accepting a verbal warranty. If the promise isn’t on paper, it doesn’t exist the day something fails and the phone goes to voicemail.
- Not pulling the permit when the job calls for one. Height and setback rules vary by jurisdiction, and a gate that doesn’t comply can cost you more than the install did.
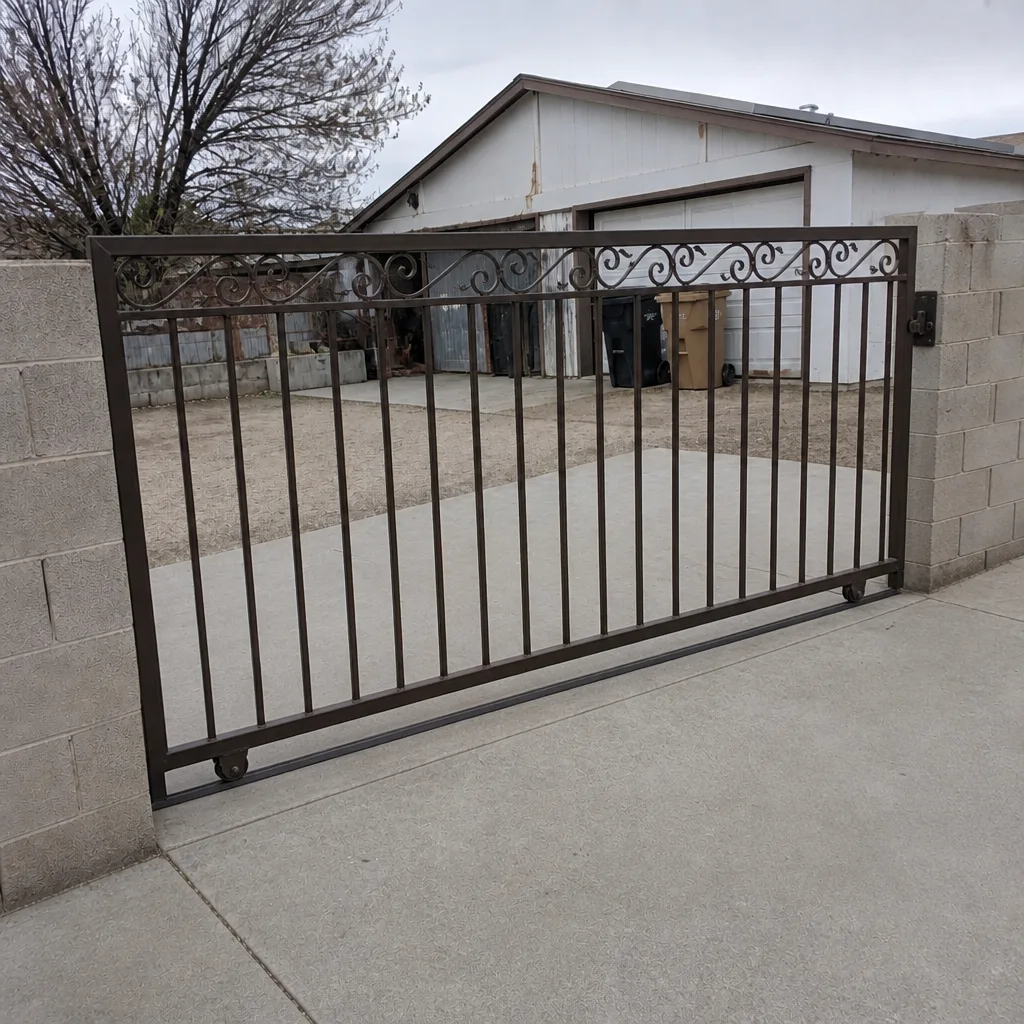
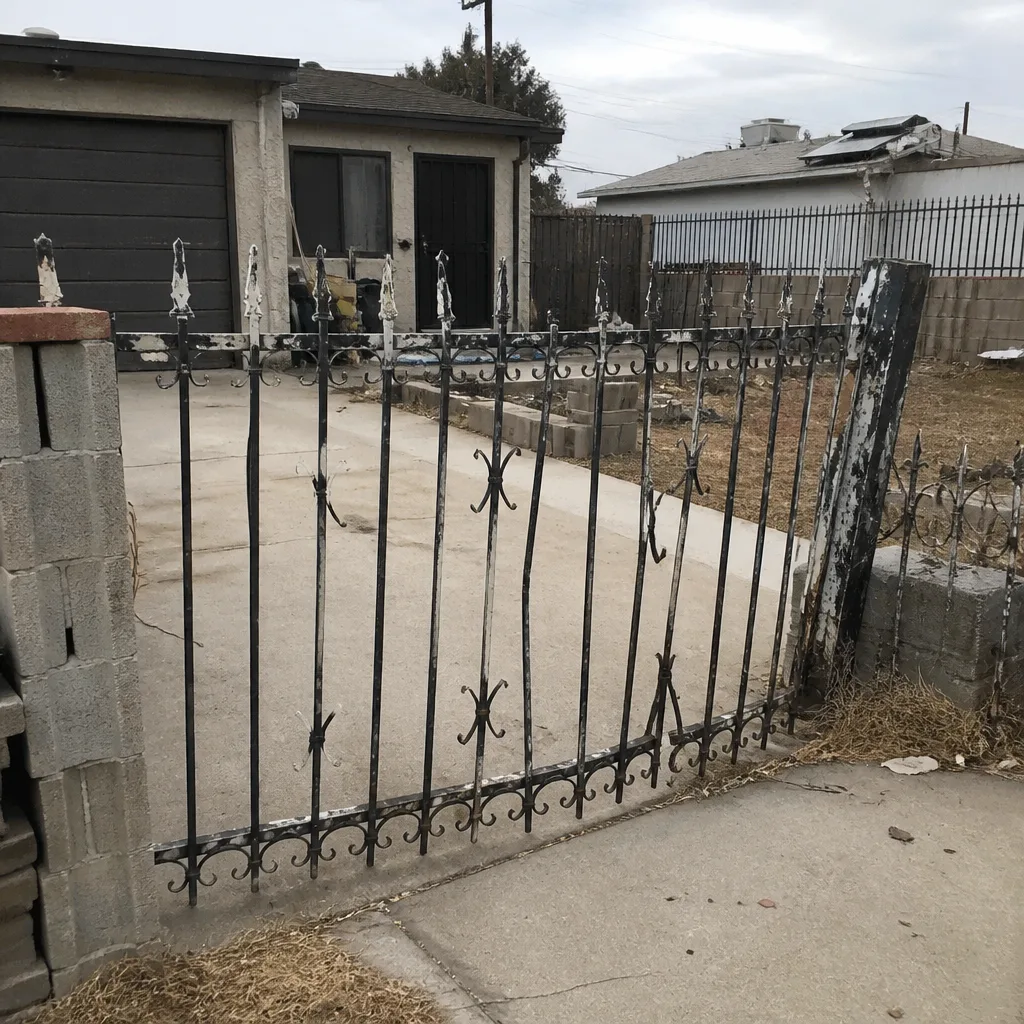
See the difference
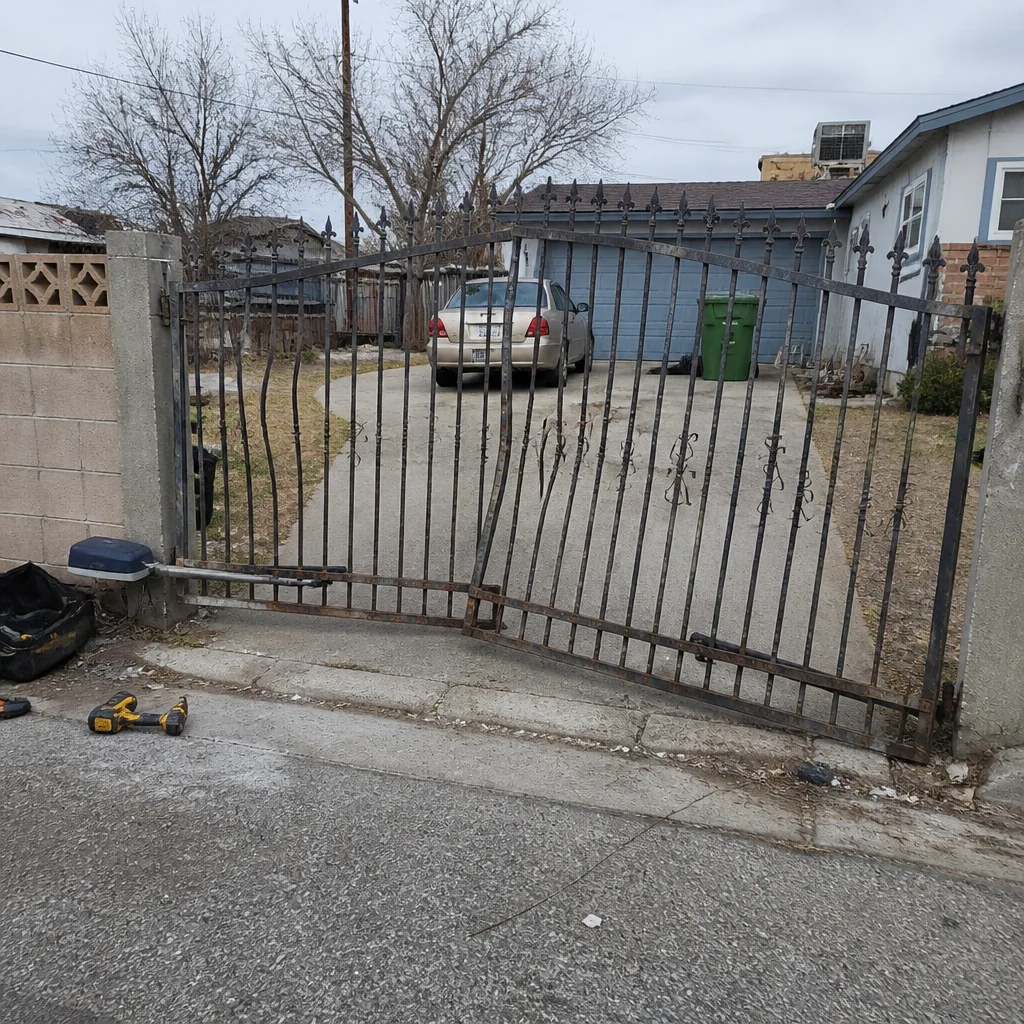 Before
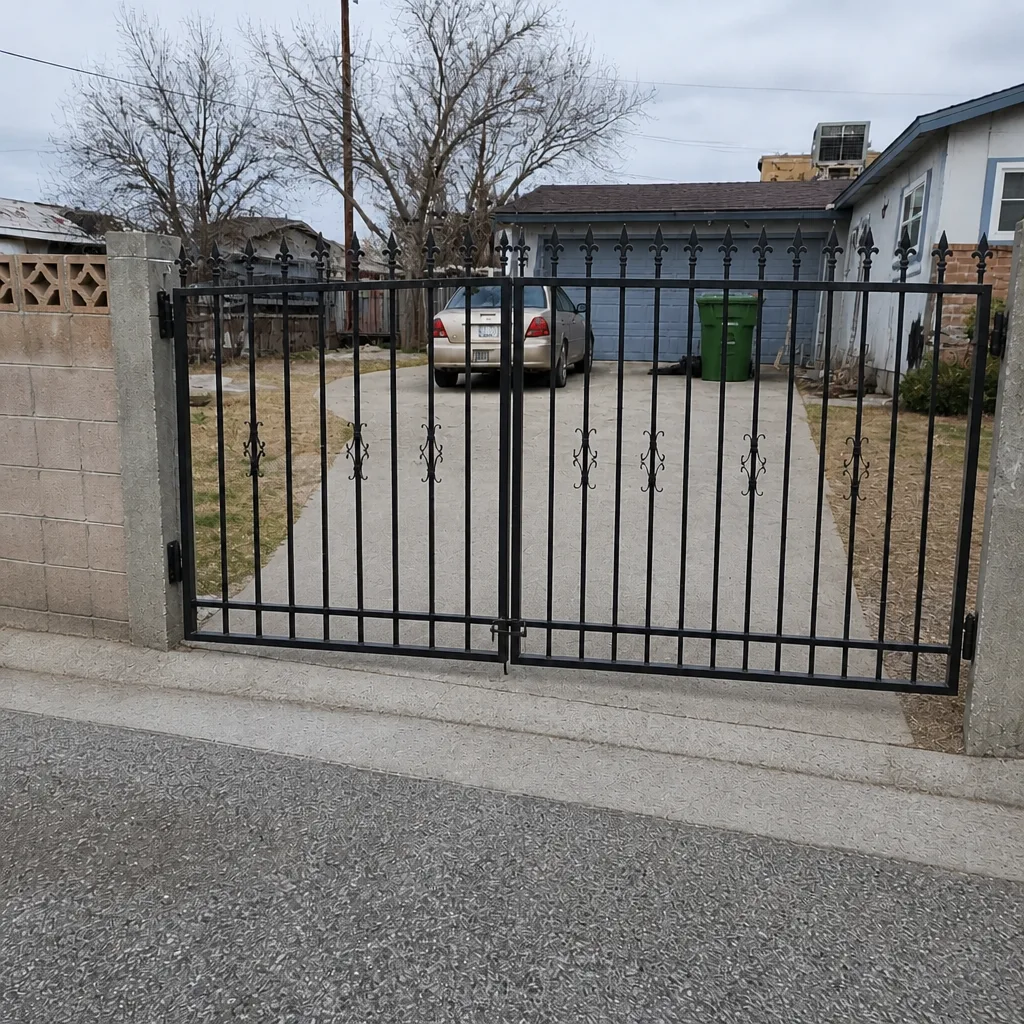 After
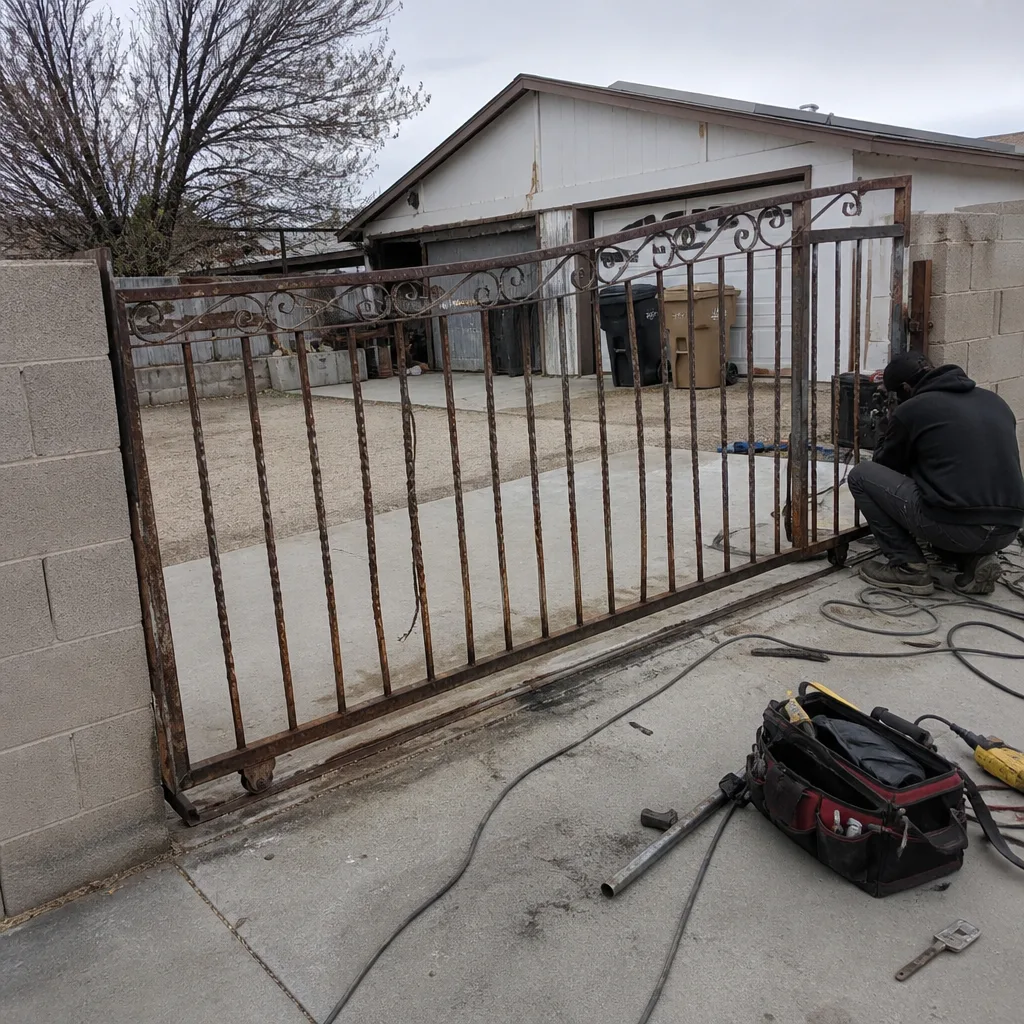 Before
 After
 Before
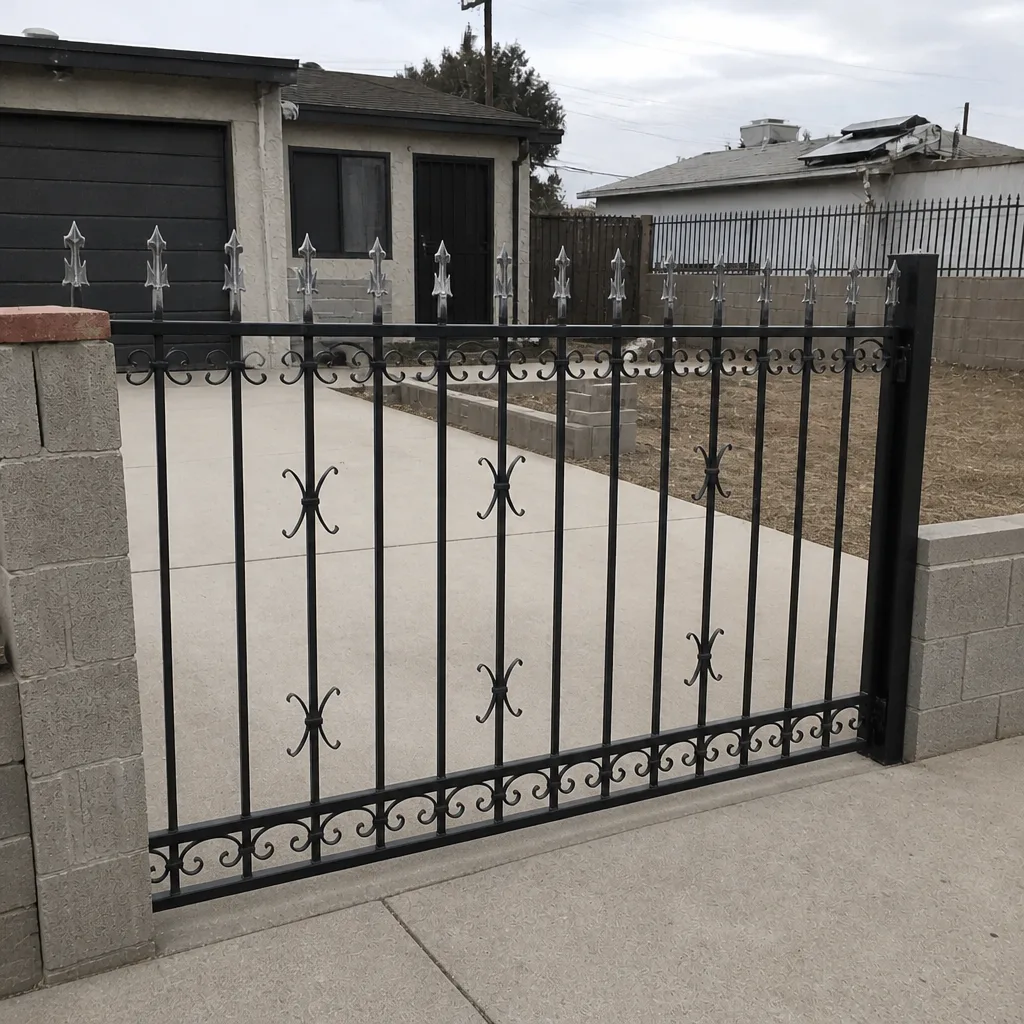 After
When to Call a Professional
Call someone when you can’t get the story straight yourself. That’s any gate that leans at the hinge post, any operator that fights the gate or strips a gear, any weld joint with rust bleeding from a crack, and any gate whose safety reverse won’t trip. Those are the four failure patterns, and they’re the same four we’ve seen on almost every repair call in Sunrise Manor. High-tension springs, torsion assemblies, and heavy gate frames are genuinely dangerous to work on without training; a spring under load can cause serious injury, and a gate panel that drops can too. Don’t take the operator apart yourself. Get a trained eye on it. Gatewood Fence & Gate Sunrise Manor offers free estimates in Sunrise Manor. Call (844) 761-8729 and a live person answers, any hour, and the price is quoted and agreed before any work starts.
Frequently Asked Questions
The single biggest sign is a shallow, undersized footer on the gate posts. A post buried in a tiny hole with a skinny footer will lean within a year in Sunrise Manor’s caliche, and once the post fails, the whole gate is affected. Look for domed concrete at the post base and a gate post heavier than the fence posts.
You can spot a bad weld by eye: an uneven bead that looks like popcorn, a bead that sits on top of the metal like caulk, or a joint ground smooth with a hairline shadow still showing through. Rust bleeding from a joint within a year of install means the weld cracked. If you see any of these, call (844) 761-8729 for a free second opinion before the warranty lapses.
Wood dries, shrinks, and swells in Sunrise Manor’s heat, so lag screws lose their bite within a season and the operator shifts out of alignment. That misalignment makes the operator work harder on every cycle and strips the gear. A welded steel mounting plate holds alignment for the life of the gate.
You should get a business name and published address, a written warranty in plain language, permit paperwork where your jurisdiction requires it, an itemized invoice, and a cell number that reaches a live person. If any of those are missing, don’t pay the final invoice yet. Call (844) 761-8729 if you want a second look at what you were handed.
Roughly two inches or less, and even side to side. A gap that’s tight on one side and wide on the other means the frame was hung out of square. A gate that’s too tight at the bottom will drag the first time the hinge settles, and in Sunrise Manor’s ground that happens faster than in most places.
Often, yes. Most bad installs are a post, a mounting plate, or a weld joint that needs correcting, and the panel itself is fine. We weld on site and reset posts in the driveway rather than hauling the gate off, so the gate stays where it belongs. Call (844) 761-8729 for a free estimate on what repair would take.
The Bottom Line
Bad gate installs show up late, and by then the warranty window is usually closed. The five tells to remember are shallow posts, cold or skipped welds, an operator lag-screwed into wood, a frame hung out of plumb, and paperwork missing an address and a written warranty. Any one of those means the installer cut a corner, and in Sunrise Manor’s caliche and monsoon wind, corners fail fast. Walk the gate on day one with the ten-point checklist in this guide, hold final payment until every item passes, and if something’s already failing, get a trained eye on it before it gets worse. A gate that’s done right once is a gate you don’t think about for years.
Gatewood Fence & Gate Sunrise Manor offers free estimates in Sunrise Manor. Call (844) 761-8729 for a free estimate and a live person on the line, any time. Every job comes with our 90-Day Done Right Promise in writing, and we offer $40 off any repair over $200, no trip charge inside the county, and a permanent 10% discount for seniors and veterans – no haggling needed. If you have a written estimate from someone else, bring it to us for a free second opinion. We’d rather you spend twenty minutes on the checklist than three years chasing a sag that nobody will come back for.
Written by the team at Gatewood Fence & Gate Sunrise Manor.