
Last updated November 18, 2026
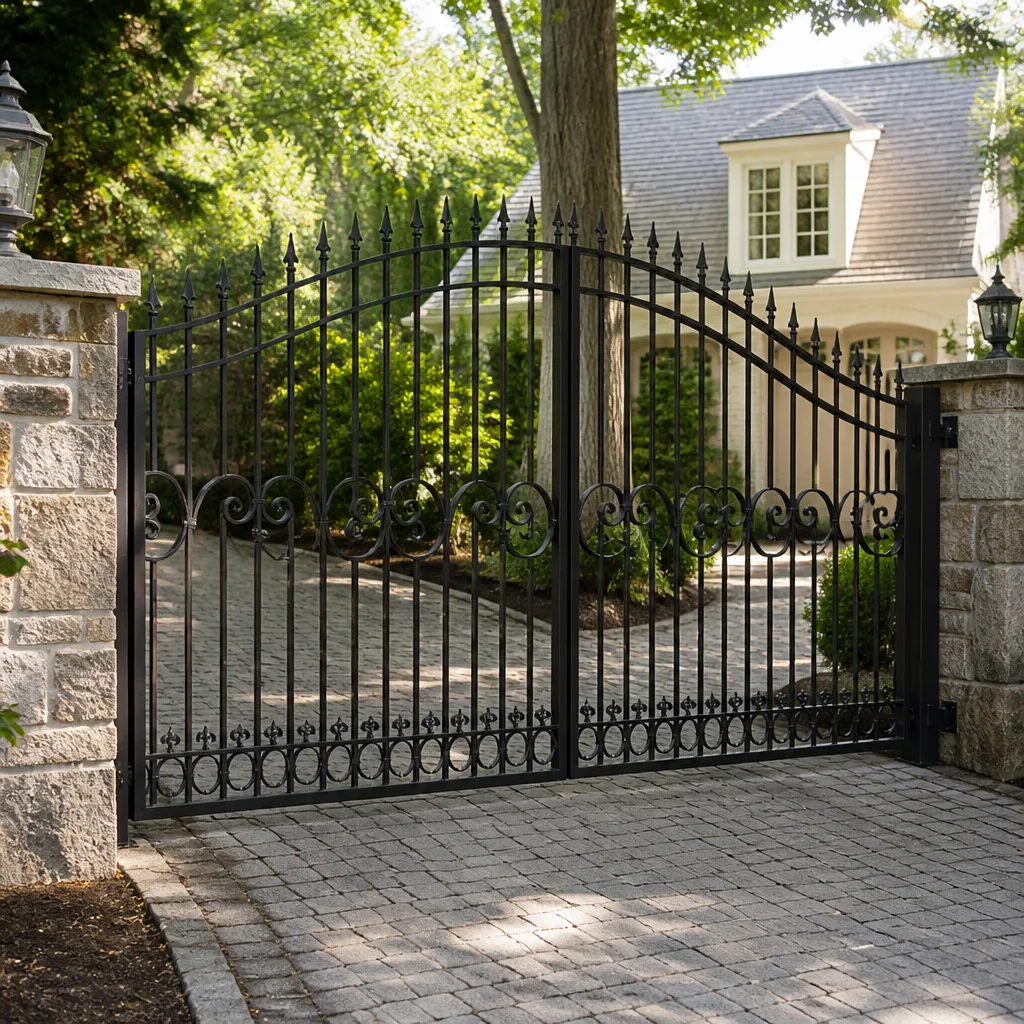 Wrought iron
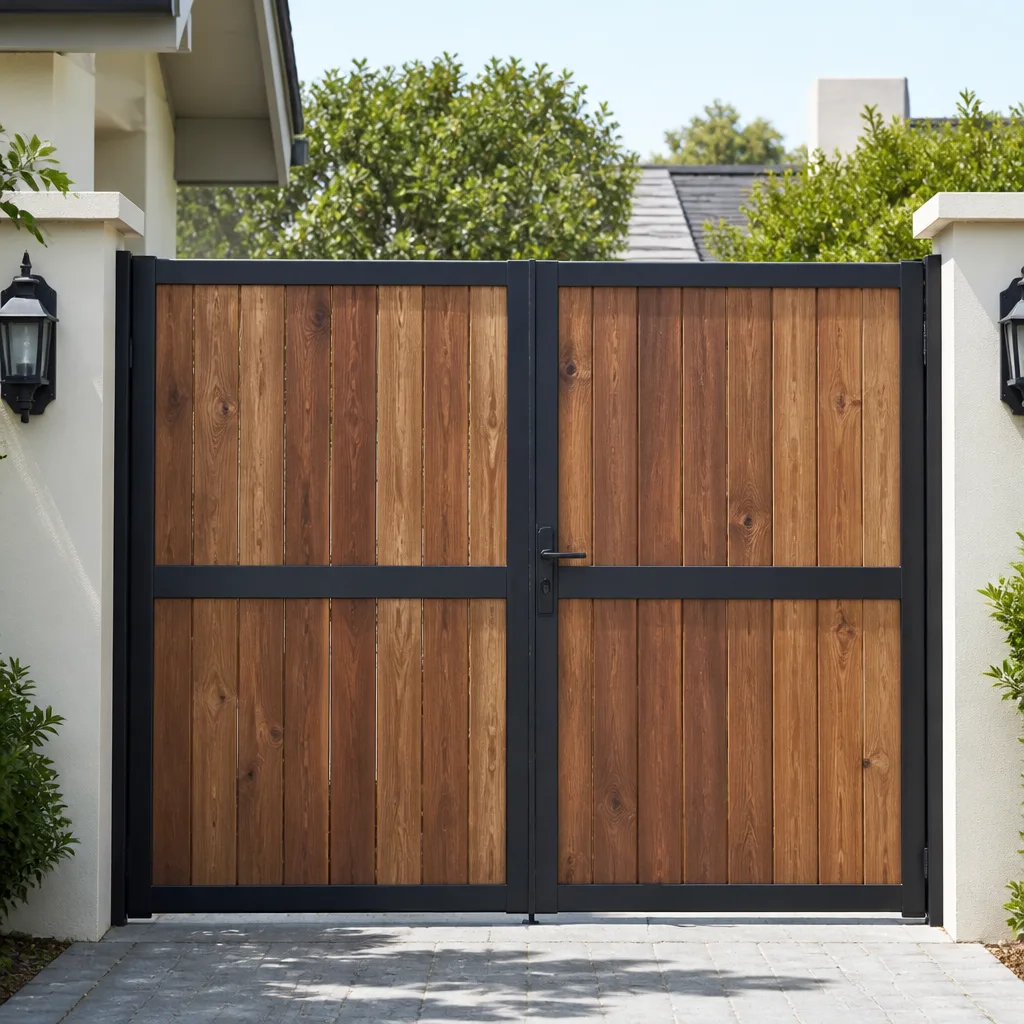 Wood & steel frame
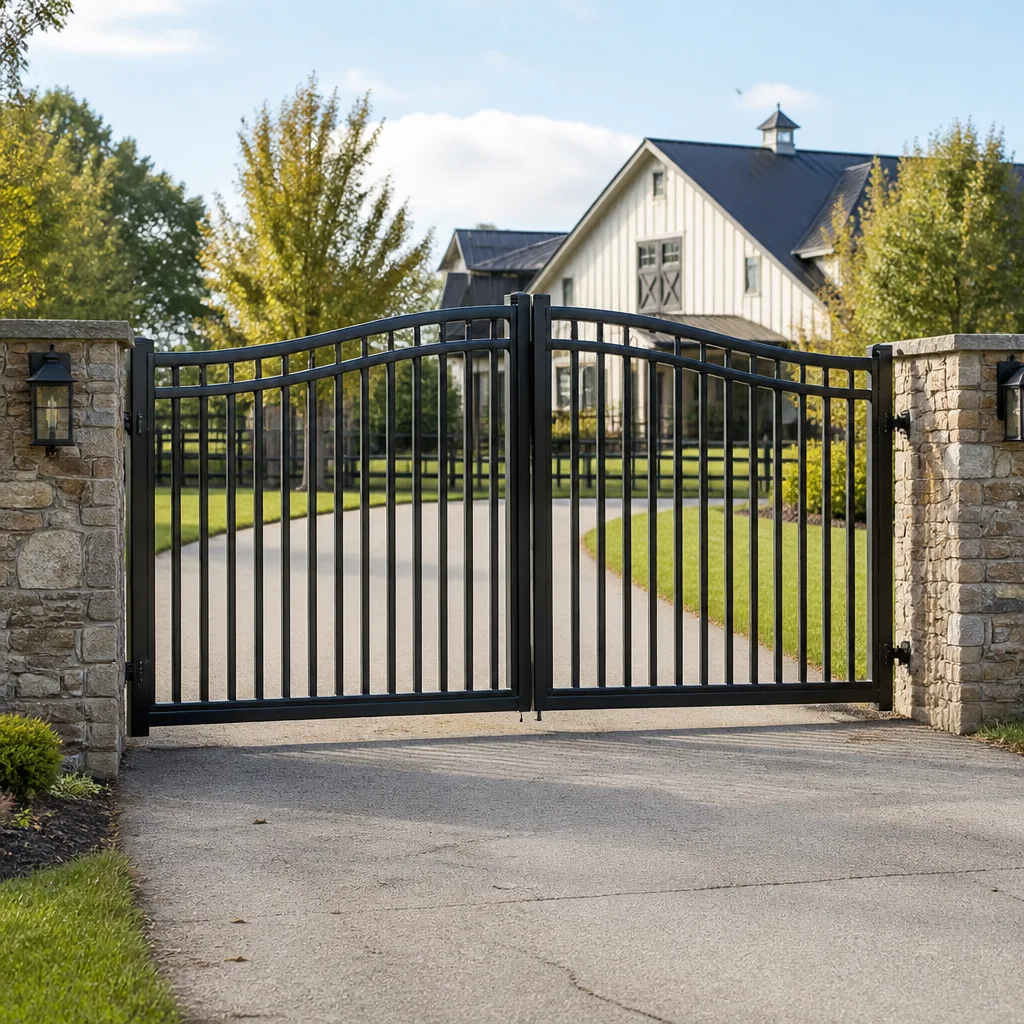 Farm & ranch
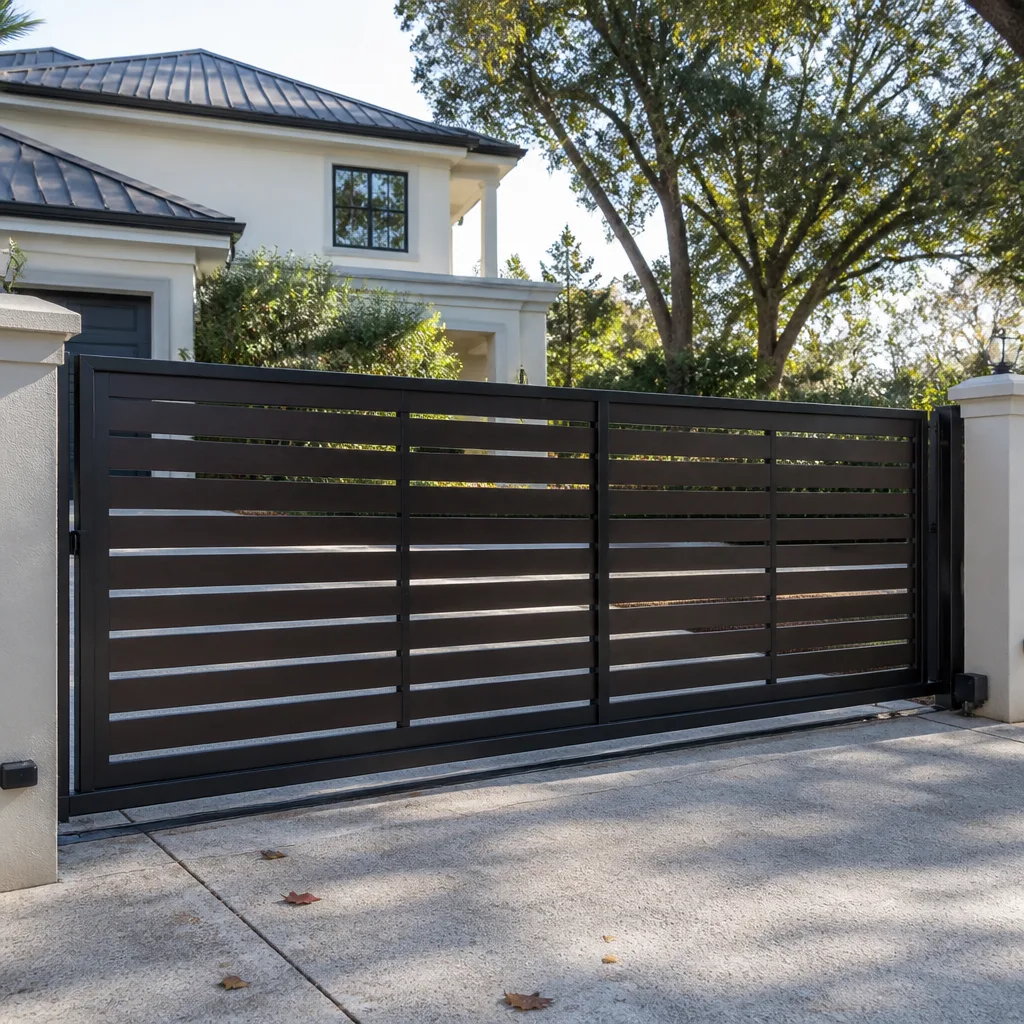 Sliding driveway gates
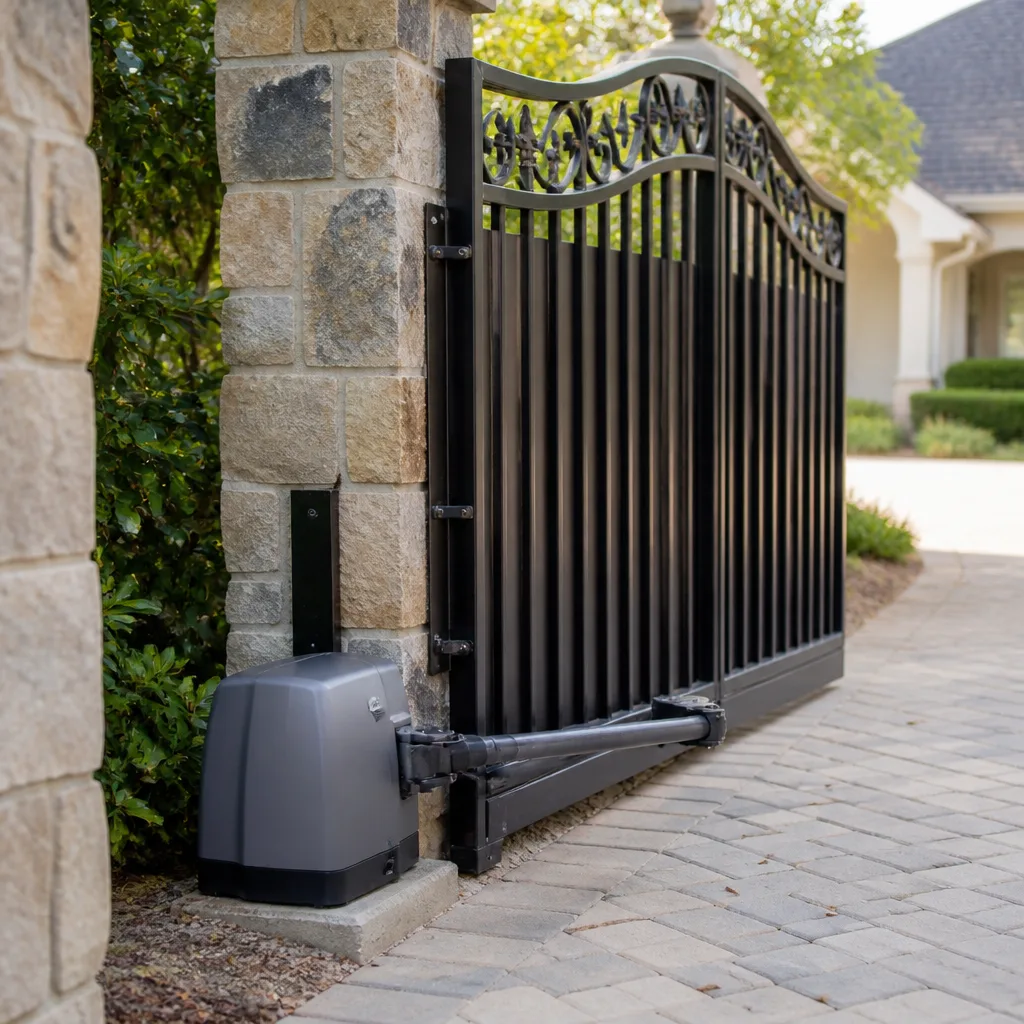 LiftMaster operators
Free on-site gate assessment - hinges, posts, and your LiftMaster or Nice gate operator checked before anything is quoted
The assessment is free and the quote is the invoice.
Get your free estimateGate Installation Troubleshooting: Common Problems and How to Fix Them
A gate that swings perfectly on installation day and drags six weeks later wasn’t installed wrong in one obvious way – it was installed with one small missed detail that the desert heat finished off. We see it constantly in Sunrise Manor: a brand-new driveway gate that worked like silk in March and won’t latch by the end of May. The difference between a ten-minute adjustment and pulling posts out of the ground usually comes down to catching the problem early. This guide walks through what normal settling looks like, how to tell a hinge problem from a footing problem, why new openers quit in the first 90 days, and the 30-day hardware check that heads off most structural repairs before they start.
Quick Answer
Most gate installation problems are caught at three checkpoints: the settling period (weeks 1 through 6), the 30-day hardware check, and the first 90 days of automatic opener operation. If a new gate sags, drags, or stops latching in that window, the fix is usually a hinge adjustment, a post-fixing bolt, or a control-board setting rather than a new gate. A footing that has actually failed – not just settled – shows up as a post that leans in every direction and won’t hold an adjustment, and that’s the one problem that means digging, not tightening.
Styles & brands we work with
- Wrought iron
- Wood & steel frame
- Farm & ranch
- Sliding driveway gates
- LiftMaster operators
Table of Contents
- The settling period: what movement is normal on a new gate
- Diagnosing an alignment problem after installation
- The 30-day hardware check that catches 90% of early problems
- Why new automatic openers fail in the first 90 days
- How Sunrise Manor heat and soil stress a new installation
- What a warranty callback should cover and how to document it
- Common mistakes to avoid
- When to call a professional
The settling period: what movement is normal on a new gate
Every gate post moves a little in the first few weeks. That’s not a defect; it’s the soil and concrete finding their final resting place around the footing. What matters is the direction and the amount. In Sunrise Manor, where the soil is caliche-heavy in some yards and sandy in others, the settling pattern varies block to block, so a generic “wait and see” answer from an installer who doesn’t know your ground is worth less than a plan to check it.
Normal settling looks like this:
- A gate that swings slightly lighter or heavier than it did on day one – a small change in drag, not a hard stop.
- A post that moves a fraction of an inch when you push on it, then returns to its starting position.
- A latch that needs a nudge with a shoulder where it dropped in cleanly on day one.
- Hinge hardware that needs a quarter-turn on the bolts after the first month.
What signals a real footing problem:
- A post that leans noticeably and stays leaned – push it and it doesn’t come back.
- A gate that drags on the ground on one side only, with the post visibly out of plumb.
- A footing that has cracked or lifted the surrounding concrete or pavers.
- A post that rocks when the gate is opened, or a wobble you can feel in the hinge.
If you see the first list, note it and keep an eye on it for the next two weeks. If you see the second, stop opening the gate by hand – the leverage a dragging gate puts on a moving post is how a small footing issue turns into a gate panel out of square. This is where a Gate Repair in Sunrise Manor visit beats waiting to see if it settles on its own.
Diagnosing an alignment problem after installation
The hardest part of post-installation troubleshooting is that three different problems look almost identical: a gate that rubs the post, won’t latch, or catches at the bottom. Post movement, hinge settling, and frame twist all present the same way on the surface. If you guess wrong, you fix the wrong thing and the gate fails again in a month.
Here’s how to tell them apart, in the order we’d check them in a Sunrise Manor driveway:
- Check the post first. Put a level against both the hinge post and the latch post. If either is out of plumb, that’s your problem – the gate is fine, the post moved.
- Check the hinge. With the gate in the closed position, look at the gap between the gate and the hinge post from top to bottom. If the gap is even at the top and pinched at the bottom, the hinge has settled and the bolts need torquing or the hinge needs shimming.
- Check the frame for twist. Open the gate to roughly 45 degrees and sight down the top rail. If one corner sits higher than the other, the frame has twisted – usually from heat or from a gate that was carried by one corner during the install.
- Check the latch alignment last. If the post and hinge are both true and the frame isn’t twisted, the latch is adjustable. Nine times out of ten, a latch problem is the symptom, not the cause.
A sagging gate usually sags in the hinge post, not in the middle of the gate. That’s the first place we look, and it’s where the repair should start. Fix the panel without the post and you’ll fix it twice.
The 30-day hardware check that catches 90% of early problems
If you do one thing on this list, do the 30-day hardware check. A new gate has had a month of opening, closing, and desert heat by then. Bolts that were torqued on installation day have had time to back off; hinges have had time to settle; the control board has had time to reveal a fault. A fifteen-minute check at the 30-day mark catches the vast majority of problems before they become structural.
Run through this in order, with the gate in the closed position:
- Hinge bolts. Every hinge bolt should be snug. If any turn easily by hand, they’ve backed off. Re-torque them.
- Post-fixing bolts. Where the hinge is bolted through the post, check for movement. A hinge plate that shifts when you push it sideways is a bolt that needs tightening before it wallows out the hole.
- Gate frame welds. Look at the corner welds on the frame. Hairline cracks in a weld are cheap now and expensive in another six months.
- Latch striker plate. The strike plate should meet the latch with a small, even gap. If it’s rubbing, adjust now.
- Drop rod and center stop. For double gates, the drop rod and center stop should align without force. If you’re lifting or shoving, the alignment has shifted.
- Rollers and guides (sliding gates). Rollers should spin freely. A roller that’s seized is dragging the gate every time it moves.
- Ground clearance. The gate should clear the ground by two inches minimum. If it’s closer, the drag is coming from the post or hinge settling, not the gate.
Log the date and the readings on the invoice. A 30-day check that says “post plumb, hinges torqued, gaps even” is your baseline. If a problem shows up at month two, that baseline tells the installer instantly whether this is settling-and-adjust or something new.
Why new automatic openers fail in the first 90 days
An automatic gate opener that quits in the first 90 days almost never fails because the unit is defective. It fails because one of three things didn’t get set up right: programming, installation geometry, or a genuine unit fault. Knowing which one it is saves you a warranty flap and a week without a working gate.
Start by identifying the symptom, then working the cause:
- Gate moves an inch and reverses. That’s almost always the obstruction-detection force setting on the opener, not a bad motor. It needs its sensitivity dialed in, which is a programming fix.
- Gate doesn’t travel to full open or close. That’s usually a limit-switch setting or a stroke-length program – a Google-on-the-phone fix for a tech, not a new opener.
- Gate runs past the stops and grinds. Programming issue: limits weren’t learned correctly. Common with BFT and Linear units after a power cut.
- Opener trips the breaker or won’t power on. Run power and control wiring first. A loose connection at the operator is more common than a bad unit.
- Operator hums but doesn’t move the gate. The gate is binding – often a hinge that settled after installation. The opener is fine; it’s trying to move a gate that won’t move. Fix the alignment, then the opener works.
- Remote works from two feet but not from the driveway. Antenna or receiver placement, or battery in the remote. Not a warranty call.
A genuine defective unit shows up as no power to the motor, a burnt board with nothing external wrong, or a gearbox failure without load. That’s rare. When a Gatewood crew goes out to look at a “dead” opener, we find an installation cause far more often than a factory fault, and we say so honestly instead of ordering a replacement you don’t need.
How Sunrise Manor heat and soil stress a new installation
Sunrise Manor has two conditions that stress a new gate harder than a milder climate would: summer heat that pushes a steel gate’s expansion past what a slightly-tight clearance can absorb, and soil that varies from caliche-hard to sandy within the same block. That combination means a gate that was installed at a comfortable 75-degree morning in April can bind by the first 105-degree afternoon in June.
What that looks like in the field:
- Gates that bind in the afternoon and free up overnight. Steel expands with heat. If the gate was set with tight clearances at installation, it’ll drag at 2 p.m. and release at 7 p.m. The fix is to widen the clearance at the hinge, not to grease the latch.
- Caliche footings that won’t sink uniform. Caliche is soft when wet and hard as a rock when dry, so a footing that’s set shallow in Sunrise Manor can lift as the soil dries. That’s where we see post plumb drift more than anywhere else.
- Sandy lots with fast settling. Sandy soil settles fast in the first month, then stops. Gates on sandy Sunrise Manor lots need the 30-day hardware check more than most, because the settling load pushes on the hinge bolts harder.
- Expansion joints in concrete that shift a post. Driveways poured in summer and gated in spring push a hinge post a fraction. It’s the fraction that makes a latch miss.
If your new gate was installed in cool weather and you’re seeing problems by mid-summer, that’s a specific diagnosis: the gate has to be re-set for its hot-weather expansion. It’s a thirty-minute fix if you catch it early, and a hinge or latch replacement if you don’t.
What a warranty callback should cover and how to document it
A warranty callback on a gate installation should cover any problem that traces back to the install itself – a footing that moved, a hinge that wasn’t torqued, a frame that was installed out of square, or an opener that wasn’t programmed correctly. It should not be a debate. If it’s the installer’s work, it’s the installer’s call to make right. That’s why every job we do carries the 90-Day Done Right Promise in writing, so there’s no “well, that’s normal settling” conversation at the door.
The way to make a warranty call go fast is to document the problem in a language the installer can use. Take photos from four angles, and label what you see:
- Full gate in closed position. One wide shot that shows the whole gate and both posts.
- Close-up of the gap or drag. Whatever is wrong – the latch gap, the hinge, the drag point – get a photo within a foot of it.
- Level against the post. Hold a torpedo level against the hinge post and the latch post and photograph both.
- Date and time. Note when the problem started and whether it’s constant or only at certain times of day (this matters in the heat).
- The 30-day baseline. If you did the 30-day check, note whether the post was plumb then.
Send those to the installer before they come out. A crew that knows it’s a hinge-settling problem before they arrive brings the right tool. A crew that doesn’t brings a trailer and guesses. Same call, very different outcome.
Common Mistakes to Avoid
- Adjusting the latch before checking the post. A latch is the easiest thing to fiddle with and the last thing to fix. Check post plumb first, every time.
- Filling a gate that won’t latch with a bigger latch striker. Putting on a larger strike or a “fix-it” catch hides a post problem and makes the gate worse when the post moves further.
- Skipping the 30-day check. Most early installation problems are ten-minute fixes at 30 days and full footing jobs at 6 months. The window matters more than the fix.
- Pushing a dragging gate by hand. Every time you force a gate that binds, you’re loading the hinge and the post with force they weren’t designed for. It compounds the problem.
- Calling the opener manufacturer first. If the gate doesn’t move freely by hand, the opener isn’t the problem. Fix the gate, then test the opener.
- Assuming the heat will “sort it out.” In Sunrise Manor, heat is the stressor, not the cure. A gate that binds in summer needs the clearance set, not the season to change.
- Tightening every bolt without a torque check. Overtorquing hinge bolts wallows out the metal and makes the hinge looser, not tighter. A snug quarter-turn past finger-tight is the goal.
When to Call a Professional
Call a professional when the diagnosis points to the footing, the frame, or the opener wiring. A post that won’t stay plumb, a frame that has twisted, a hinge that has cracked a weld, or an opener that trips a breaker – those aren’t tightening jobs, and DIY fixes usually make the next repair bigger. We’ve seen plenty of Sunrise Manor gates where a handyman “fixed” a latch four times before anyone checked the post, and the post was the whole problem. The same goes for anything involving 120-volt power at the operator, where the wiring was pulled by someone who isn’t a licensed electrician. Call a trained pro and let them check the current before anything gets touched. Gatewood Fence & Gate Sunrise Manor offers free estimates in Sunrise Manor – call (844) 761-8729. If you’re not sure whether your problem is adjustment or structural, we’ll look at it, tell you which one it is, and give you the exact price before any work starts.
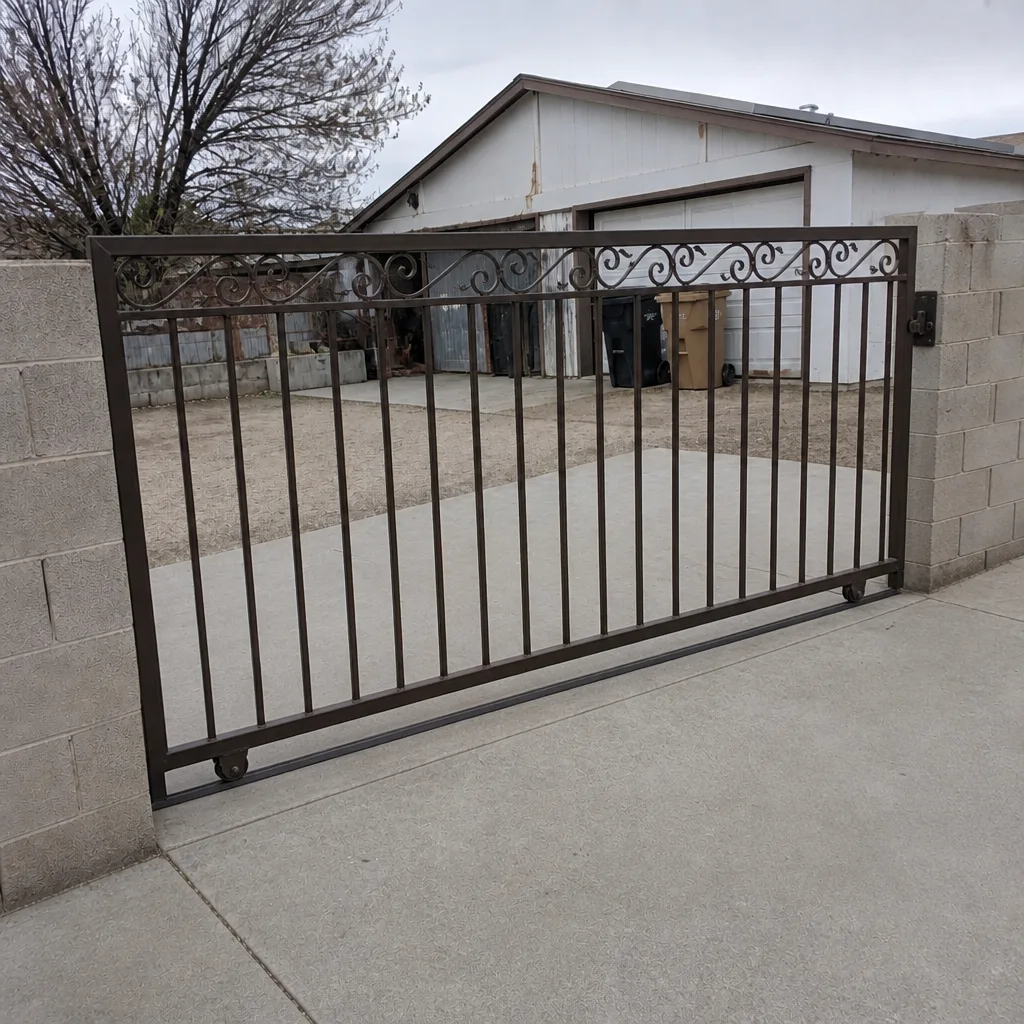
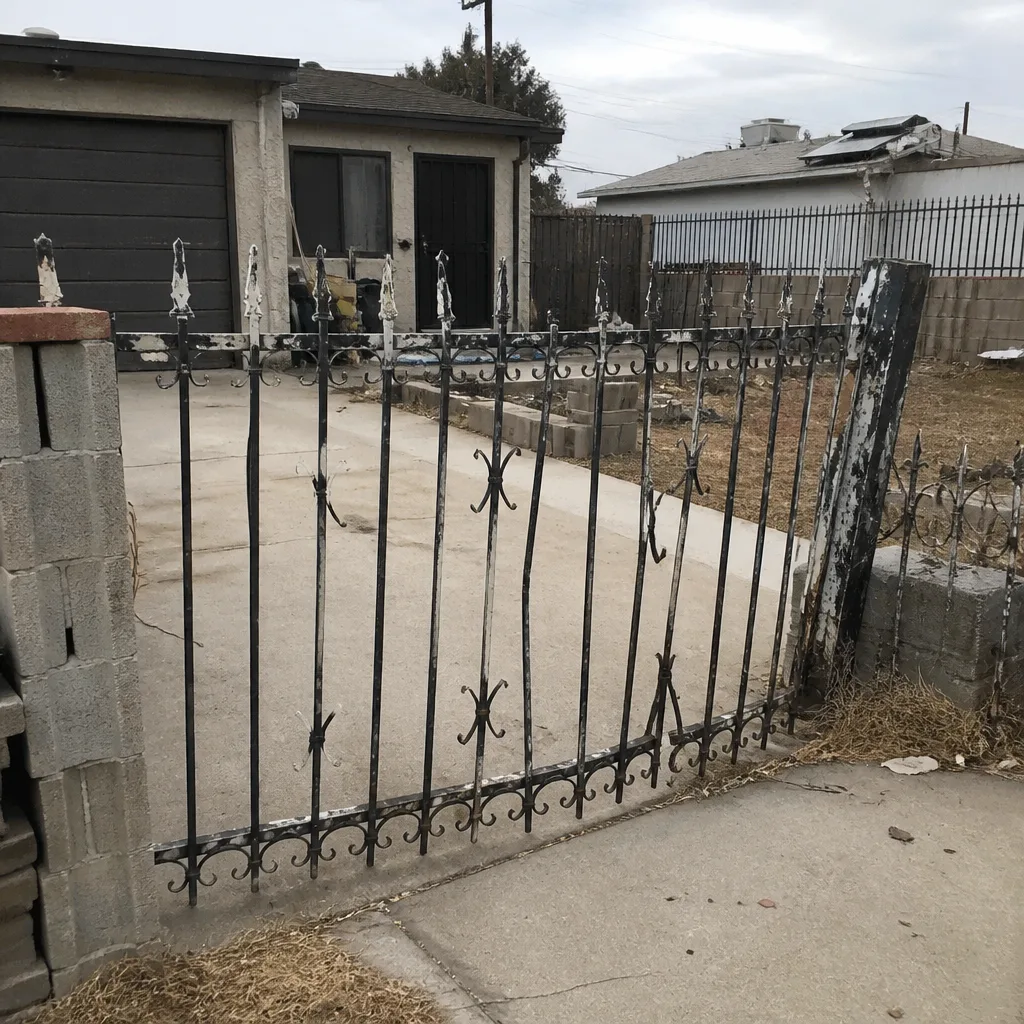
See the difference
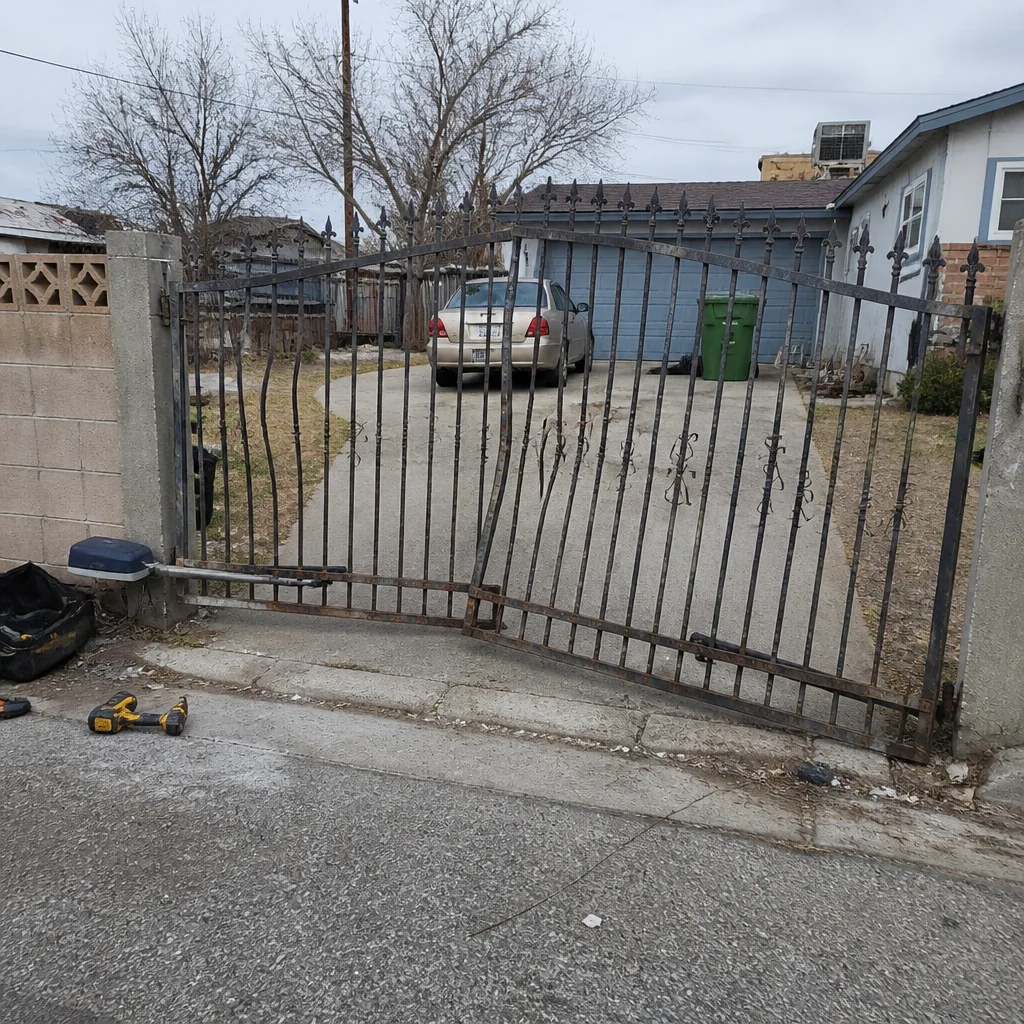 Before
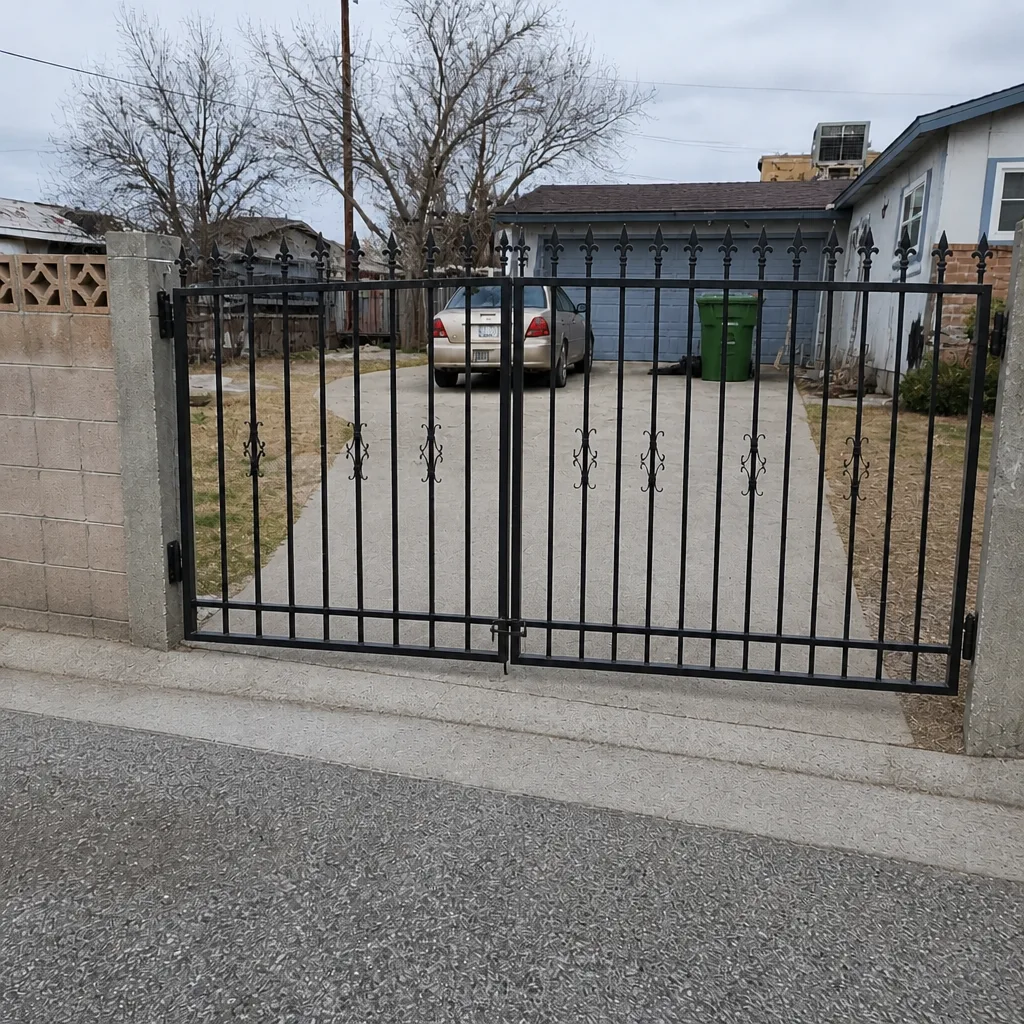 After
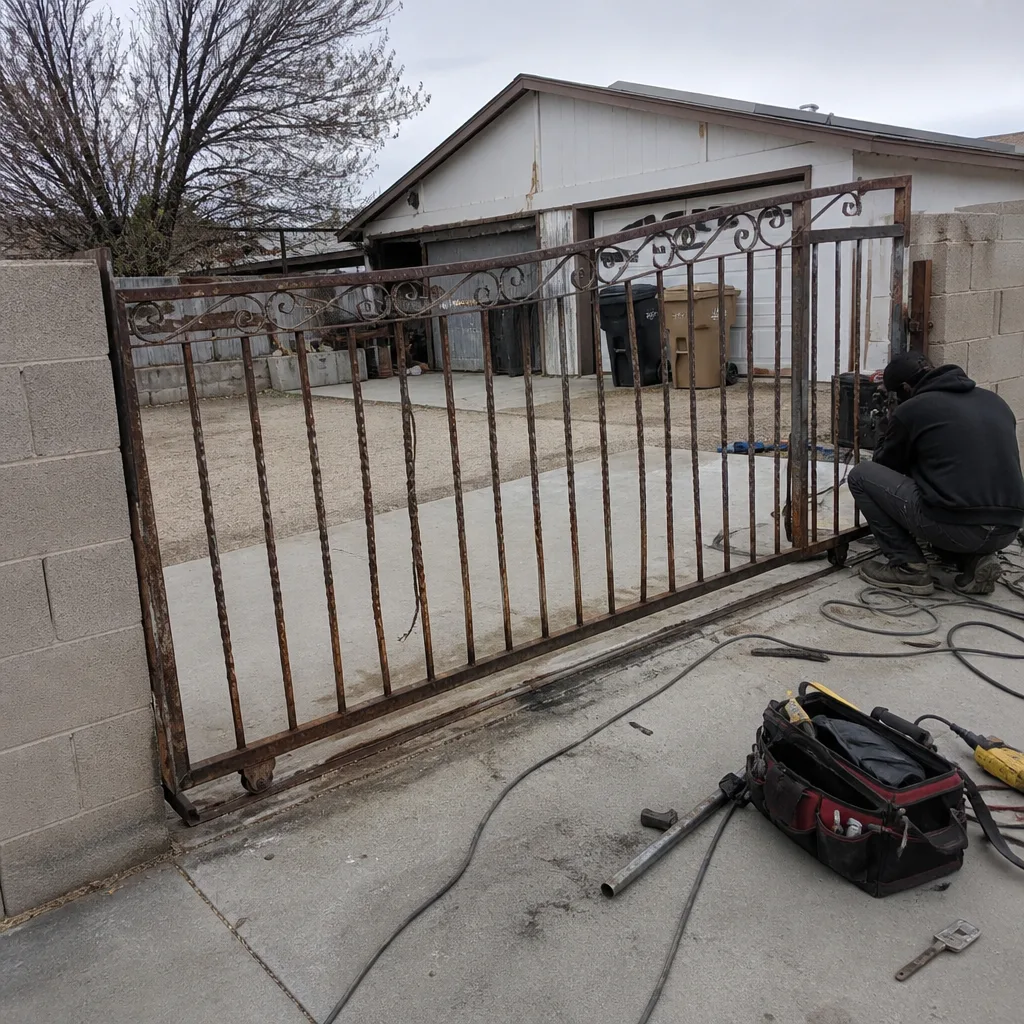 Before
 After
 Before
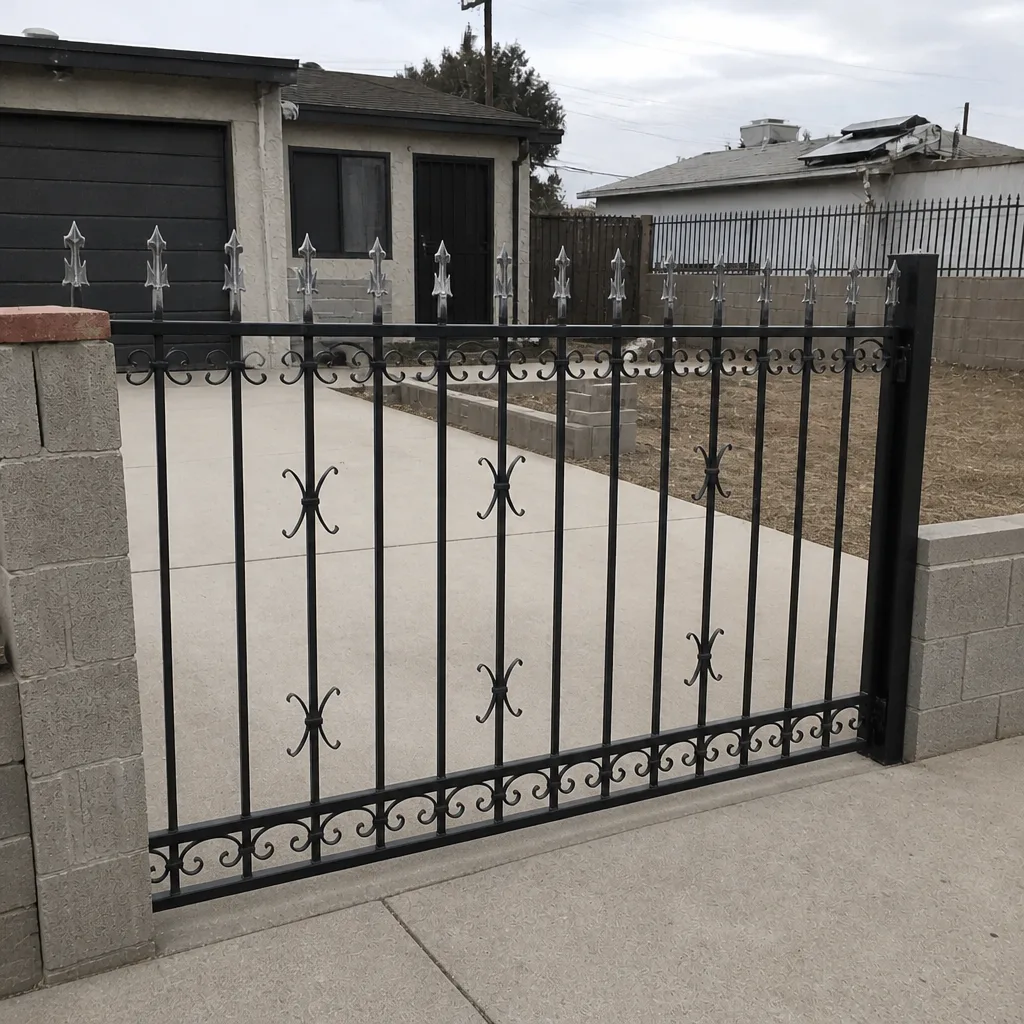 After
Frequently Asked Questions
A new gate typically settles in four to six weeks. During that window, expect a small amount of hinge movement and a slight change in latch alignment – that’s normal. A post that stays visibly out of plumb, or a gate that drags on the ground, is not normal settling and should be looked at. In Sunrise Manor, sandy soil settles faster than caliche, so the 30-day check is where we catch most of it.
Afternoon binding is heat expansion on a gate that was set with tight clearances. Steel and aluminum expand with temperature, and in Sunrise Manor a gate set at 75 degrees in spring can bind at 105 degrees in summer. The fix is to widen the clearance at the hinge, not to grease anything. This is one of the most common calls we get in the first summer after an install.
Almost certainly not. That symptom is the opener’s obstruction-detection force setting, not a bad motor. It needs its sensitivity dialed in. On a BFT or Linear unit this is a programming adjustment, and it’s one of the most common “defective opener” callbacks that turns out to be a setting. Give us a call if you can’t sort the setting yourself.
Put a level against the post first. If the post is out of plumb, it’s a post problem – the hinge is just following it. If the post is plumb and the gap between the gate and the hinge post is pinched at the bottom, it’s a hinge settling problem. The two look similar but the fix is different, and treating a post problem as a hinge problem means you fix it twice.
A warranty callback should cover anything that traces back to the installation itself: post movement, hinge torquing, frame square, opener programming, and wiring. It should not cover damage from a car or a forced entry, but it should cover anything the installer’s work caused or missed. Every job we do carries the 90-Day Done Right Promise in writing, so the answer is on the invoice from day one – if it’s our work, we come back and make it right.
Yes. We service gates we didn’t install, and we’re certified on nine major brands including BFT, Linear, Viking, Ghost Controls, LiftMaster, FAAC, DoorKing, Elite, and Mighty Mule. Free second opinion on any written estimate, so if another shop has quoted you a footing job or a full replacement, we’ll tell you honestly whether it’s necessary. That’s Gate Installation in Sunrise Manor and repair work done from the driveway, not from a trailer.
The Bottom Line
Most installation problems that show up at week three or month two were there on day one in a form nobody checked. The 30-day hardware check catches them cheaply; the first summer heat in Sunrise Manor exposes them if you don’t. Learn the difference between normal settling and a footing problem, check post plumb before touching the latch, run the opener only after the gate moves freely by hand, and document any warranty issue with photos and a baseline. That’s the whole playbook, and it works whether the gate was installed by us or by somebody else. If your new gate is doing something that doesn’t feel right, call (844) 761-8729 for a free estimate – we’ll tell you what we see.
If you’re still planning the install, or replacing a gate that has finally given up, the same troubleshooting logic applies from day one. Start with our Gatewood Fence & Gate Sunrise Manor home page to see how we work, read about Gate Motor & Opener in Sunrise Manor if you’re adding automation, or call us directly at (844) 761-8729 to talk through the project. Live person, every time.
Written by the team at Gatewood Fence & Gate Sunrise Manor.